RNWP template supports two types of notifications:
- Scheduled Notifications
- Push Notifications
To test the notifications before building an app, this should be on a physical device, not an emulator.
Scheduled Notifications
Through scheduled notifications, a notification can be sent to the mobile device every a specific period of time with a specific message.
Scheduled notifications can be configured easily through the userConfig.js file. No more configurations or plugins are needed.
However, there is no much control on the message after the app is published. So if you added the message frequency, title and message body, this will always be same unless the app is updated.
Push Notifications
Through push notifications, you can send custom notifications through some notification platforms. This will give you the flexibility to send the notification messages you like at the time you like. This should also be configured through userConfig.js file.
This could be handled with ios without the need for firebase. However, this would need some configuration for android mobiles through firebase and then through updating app.json file.
Firebase configuration
First of all, you will need to create an account on Firebase. You can sign in with your Google account.
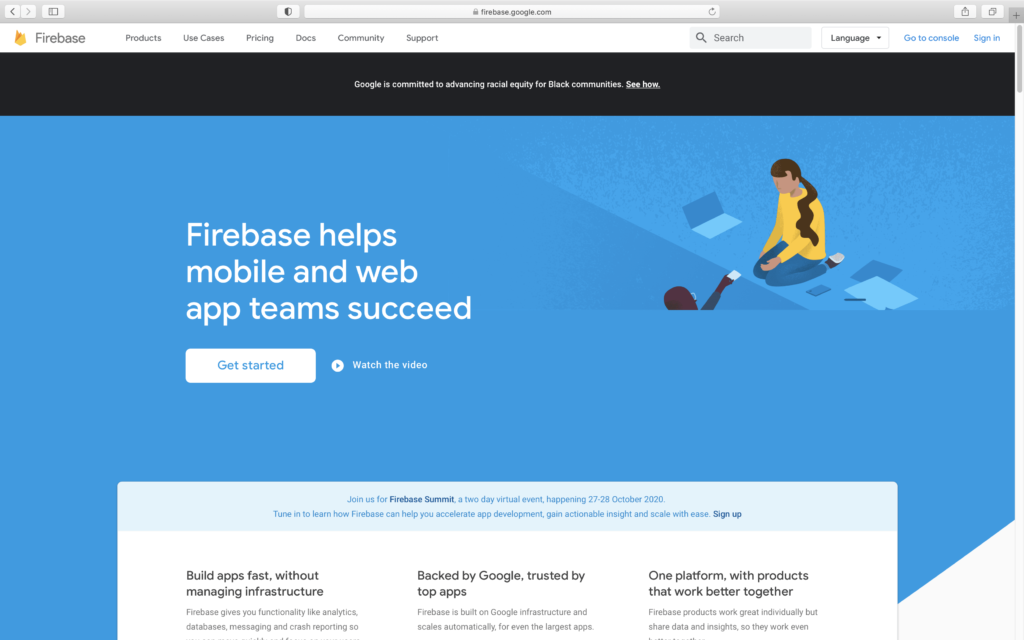
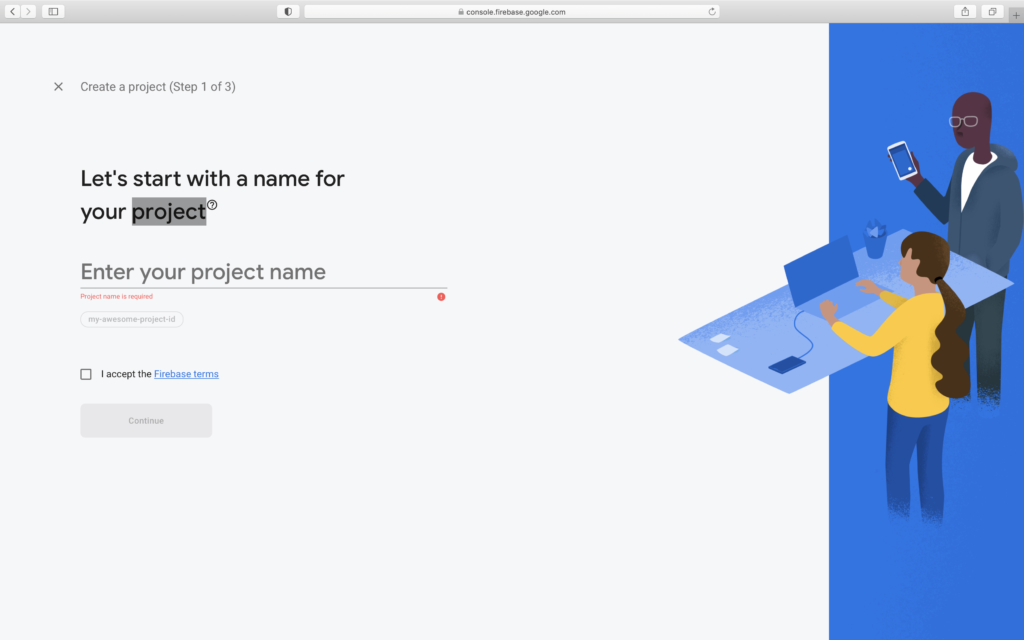
Then you shall sign in with your Gmail account and then click “Go to console” on the top right. In the console, you can click the “Create Project” button:

You will be asked for a project name, you can name it as you like.
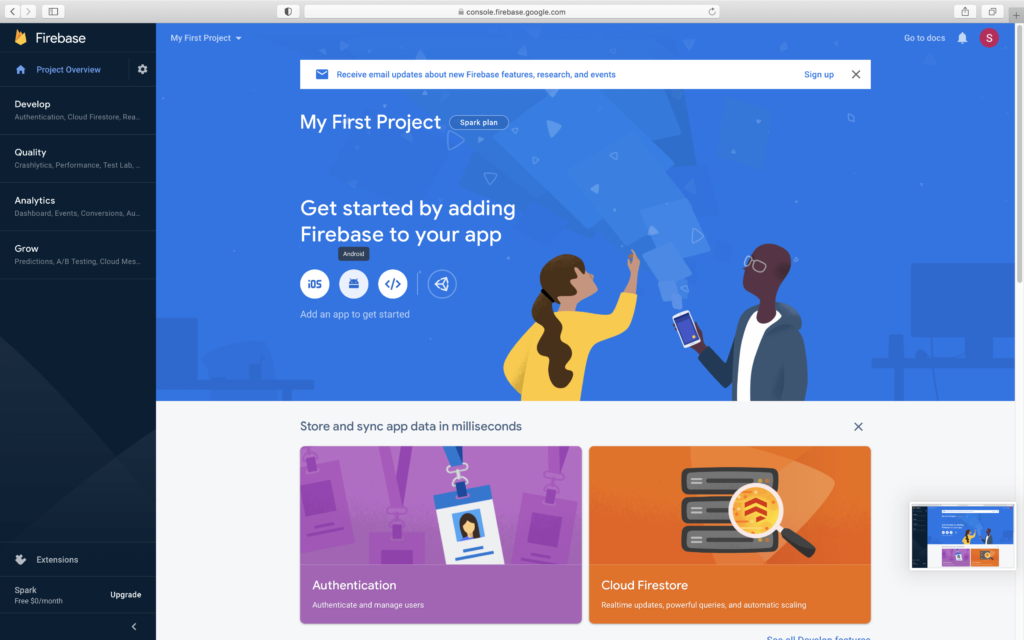
Now you can see your first project’s console, you can create an android app through clicking on the android icon as below:
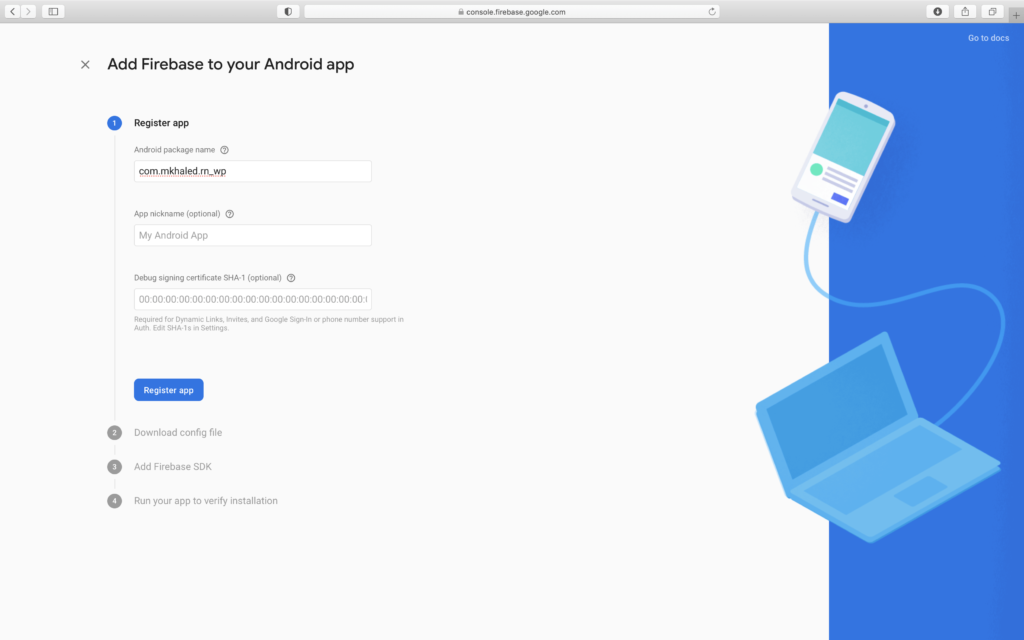
You will be asked for the below information, the most important one is the one related to your package name, this should be the same as the android package name in your app.json file:
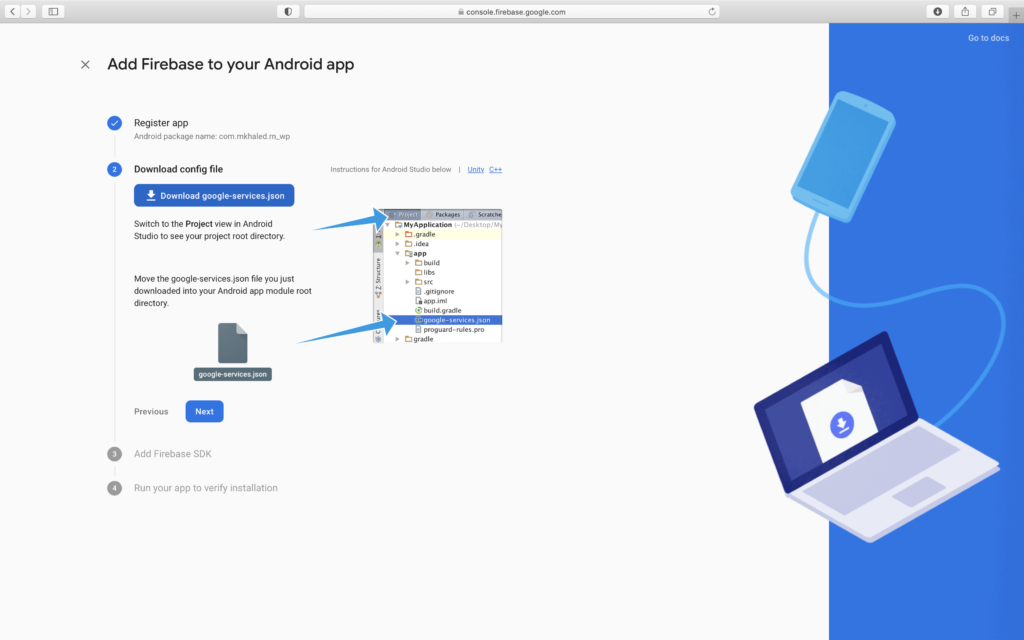
A link to download a config file i.e. google-services.json shall appear. Download this file and paste it to your app’s folder. Make sure it’s in the root (not in an internal file) and that its name is google-services.json, otherwise, an error will occur and the app will crash. You should then configure the app.json file to include the reference to the google-services.json file.
Testing Push Notifications
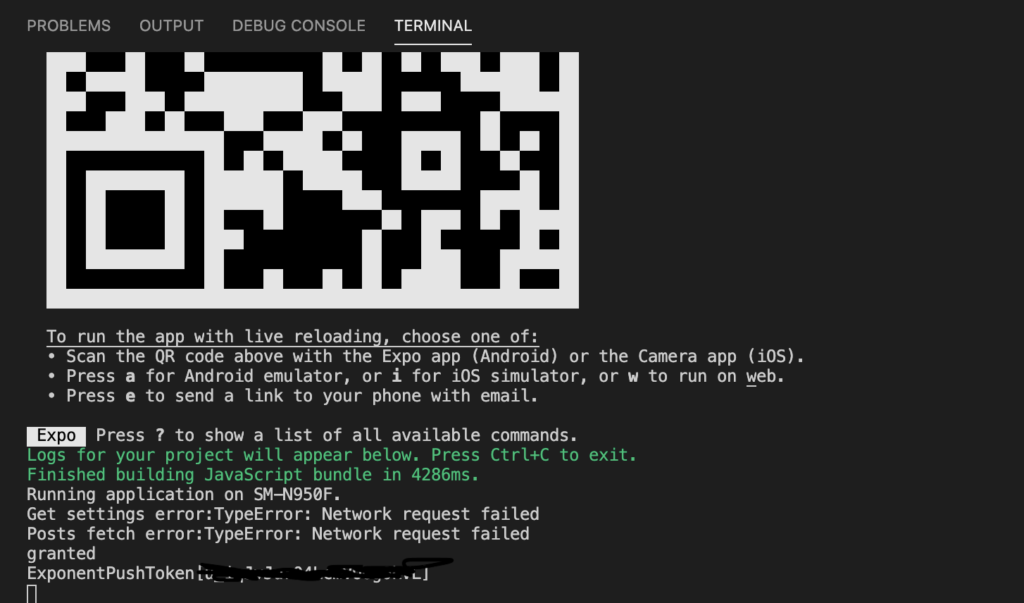
Push notifications can be preliminarily tested through the Expo push notifications tool. You will need to provide the device notification token, during testing, this can be shown in the console (if you are using VSCode, you can see it in the terminal). It starts with ExponentPushToken as shown below:
In order to test the push notifications on an iPhone, you will need to install a custom ios expo client, you can follow the steps in this link.
Adding Firebase Server Key to your app
One final step shall be needed to link the app to your Firebase account, this shall be to upload the Firebase key to Expo push servers. To get the server key, you can do the following steps:
- Open the Firebase console for the app you created.
- Click the gear icon in the Firebase app sidebar.
- Click on the Cloud Messaging option.
- You will find your Server Key. Copy it.
- Run this command in your app terminal:
expo push:android:upload --api-key <your-token-here>, replacing<your-token-here>with the string you just copied.
Now, your app is ready to send push notifications.
Sending Notifications to Registered Phones
In order to send notifications to all devices, this will need to store the registered tokens in a database and send notifications to them through an external platform.
The RNWP template supports two solutions:
- The easier solution shall be through Fusion Web App WordPress plugin. This plugin has been tested with RNWP template. Notifications work well but devices and messages may not show always in the WordPress admin dashboard.
- If the above solution didn’t work well, the other solution would be performed but it will need coding skills in order to send notifications to all devices. To store the device tokens in Firebase, you shall open your Firebase console, you will create a Realtime Database. You can then create a web app to get the config object, it will look like this:
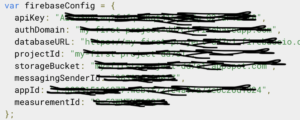
You will then need to copy the data between curly braces in this file to the object in "./constants/firebase.js" in the app project file. You should alse set the enableFirebase in userConfig.js to true. Afterward, when the app opens, it will send a query to store the device token in Firebase. To get all device tokens and send them the push notification. This shall need to write a backend code from a server.
Share this:
[…] creation of a PFD is typically based on the output of process simulation software. We have discussed plant simulation’s role in a project in the previous article. In a nutshell, process simulation involves using specialized software to model and analyze the […]