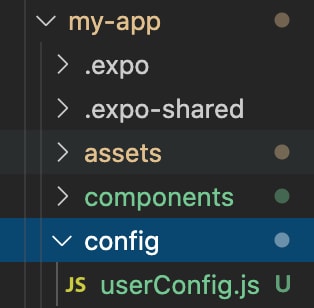
So after we created our expo app, it’s time to fit it for our site. This is done by a file inside the config file called userConfig.js, i.e. its location shall be config/userConfig.js.
This can be either done from the file directly or through the RNWP plugin inside the RNWP package.
Installing RNWP Plugin
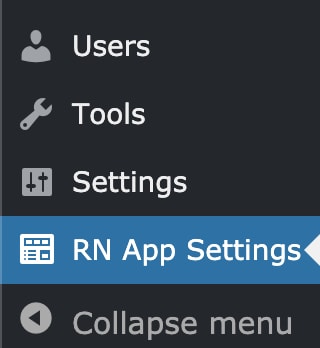
To install the plugin, you can upload the plugin zip file in the RNWP package and activate it. Afterwards, you will find now a new menu on the left:
This code shall be copied to the userConfig.js file to consider the website data in the app.
The next steps will be as follows:
- Go to this menu page, now you will find a set of options
- Configure the options according to your preferences
- Click the Save Changes button
- Copy the code generated at the bottom of the page
- Go to userConfig.js file, delete content, then paste the code you copied from the plugin.
N.B. This post will be too long. The below is just explaining the aim of each option, so you don’t have to read everything below. You can just use it as a reference.
So let’s start going through the options below:
Website URL
This can be retrieved normally from the plugin, so no much input is expected. This may be used if the website has more than one API with respect to a specific functionality.
A common example may be if the website is using a multilingual plugin having a query parameter for each language. Taking an example of a multilingual website having Arabic and English languages, in the Arabic website, the REST API link for posts will be website.com/ar/?rest_route=/wp/v2/posts. In the English translation, the REST API link for posts will be website.com/en/rest_route=/wp/v2/posts. So if the app is built for the Arabic language, the URL will be website.com/ar. If the app is built for the English language, the URL will be website.com/en.
Should I use the plugin or keep it activated on my Website?
You can use the app without the plugin and you can configure the app then deactivate the plugin. However, this will have the following drawbacks:
- The plugin considers a search API that searches through all posts, pages and custom post types. If you need this functionality, then you’d always need the API to be activated. Otherwise, you should change the
pluginInstalledkey tofalsein theuserConfig.jsfile and choose only one post type to apply search on. - If you are using Woocommerce, this plugin ensures the product categories and tags will have a REST API so that the app can access them. If the plugin is uninstalled, they won’t show in the app.
- The default limit to the number of posts to be fetched by the REST API is 100, if you wish users download your posts or custom post types which are more than 100, you can choose the maximum number of posts to download. This plugin would modify this limit to the limit you wish. If you don’t want to use the plugin but need this functionality, then you should consider adding a code doing this job on your website.
App Structure
Supported Custom Post Types and Taxonomies
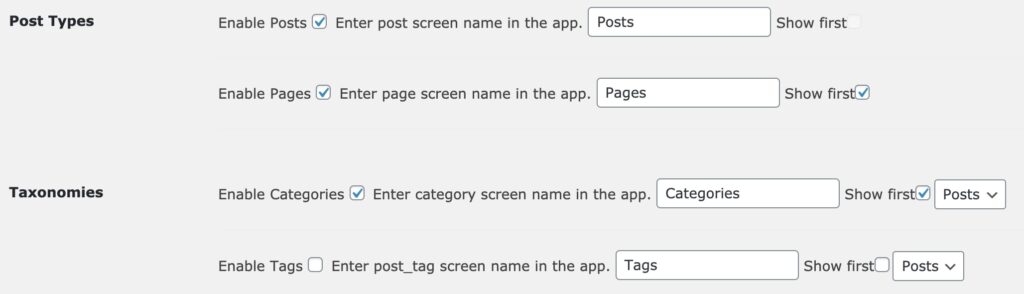
This option shall show all custom post types shown in the REST API. You can show the post type you want in the app by just checking “Enable post_type” option. If you don’t want to show a post type in the app, make sure the Enable checkbox is unchecked.
Then you can control how the name of the post will be shown in the app screens, this can be controlled in the next input which is the screen name. Based on this input, the name will be shown on screens and in menus.
Next comes the priority checkbox, this will be needed to know which post type should be shown first in menus. This will be more important as it will controls which screen shall be shown first when the app is opened. Choosing whether taxonomies or post types will be shown in the app home screen in an option below. This option is related to priority within post types or taxonomies and the post type (taxonomy) which will have priority will be the one to be shown in the app home screen if post types (taxonomies) are chosen to be shown first.
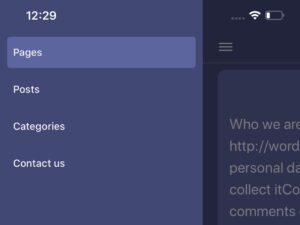
So for the below chosen option, posts and pages are shown with pages as a priority. For taxonomies, only categories will be shown, so the plugin configuration and app screen shall be as the below images:
Excluded posts and taxonomy terms
In the next option, you can exclude specific posts or categories from showing in your app, e.g. uncategorized category or a contact us page as contact forms are not be supported by the template. You can just search for the name and click the ones you want to exclude.
Number of Posts to Download for Offline Mode
The app supports the option that the user can download the content of the website, this can be done by enabling offline mode in the Settings screen. To download the content (except for images or videos they will still need an internet connection), you must specify the expected number of posts you will show in the app.
So if you have 1000 posts, you can write a number which is greater, e.g. 1500 posts, for example, depending on your expected forecast. It can be even more but it should always be greater than 1000 in our case as a lower number e.g. 800 will just download the last 800 posts.
However, WordPress default REST API limits the number of posts to query to 100. The plugin handles this by setting the limit to the number that you will choose, so if you are going to deactivate the plugin (which will not be recommended if you are not a developer), make sure to handle this limit in another custom plugin or in your theme, the latter is not recommended by the way.
Number of Posts per page
App considers an infinite scroll technique for pagination, so as the user scrolls the app down, new data will be fetched from the API (in case of online mode) or they will just show up (in case of offline mode). This option depends on the number of posts to be fetched every time the user scrolls down, default is 5. However, you can change it to the number you like.
Home screen type
This can be either by showing post types (e.g. posts) or showing taxonomies (e.g. categories) in the home screen.
About Page
In this option, you can choose the page to be considered as the About page of your website. This shall be shown as a separate item in the app menu if a page was chosen.
Supporting excerpt
Choose if the app supports post excerpt in the post thumbnail.
Thumbnail maximum number of characters
This shall shown the first 500 characters of the post content or excerpt if 500 was chosen, you can control the number of characters you want to show.
Featured Image support
If the post has a featured image and this option is enabled, featured images shall be shown in thumbnails and in single post screens before post content.
Text direction
If language is written from right to left (e.g. Arabic, Urdu, Farsi, …etc.), text direction shall be RTL, otherwise, it shall be LTR.
Notifications
You can read more about supporting scheduled notifications and push notifications in RNWP. Here we shall cover the options related to notifications in the app.
Enabling Firebase
Firebase is an essential part of notification system, so to enable notifications, you should have a Firebase account connected to your app. You can choose the option here but for notifications to work, Firebase settings should be configured.
Enabling Fusion App Plugin
If you don’t have a push notification system, the Fusion App plugin can be used for push notifications as it is fit for WordPress. This option checks whether the app is using this plugin or not in order to be considered in the app.
Enabling Scheduled Notifications
This type of notifications sends can send a specific message to the mobile every a specific period of time. Through this checkbox, you can choose whether your app will show this type of notifications or not.
Scheduled Notifications Title
Scheduled notifications title can be configured in this option.
Scheduled Notifications Message
Scheduled notifications message can be configured in this option.
Contact Details
You can add the contact details you like through the plugin. This can be your telephone number, your address, your email. You can also add your social media links. If not all these details are applicable, just leave the non-applicable data blank so that the application won’t add their icons.
Ad Settings
This app supports Admob. In order to activate ads on your app, you should have an Admob account. Just check on the type of ads you’d like to show on your app, enter the ad key for this ad type.
For ios apps, this would be enough for ads to work. For android apps, a setting would be added in the app.json folder.
Screen Names
These options are used to configure the screen names that will be shown on the app. For example, if you want the “saved” screen to be shown to users as “Bookmarks” or your app is written in another language, you can configure the screen names here. Screen names shall be shown on headers, drawer menu, and bottom tabs.
Names for screens related to custom post types and taxonomies can be configured in the app structure section.
Other texts in the app
The app uses several messages or annotations for settings or options. If your app is in a language other than English or you just want to change the wording used. You can do that through this set of options.
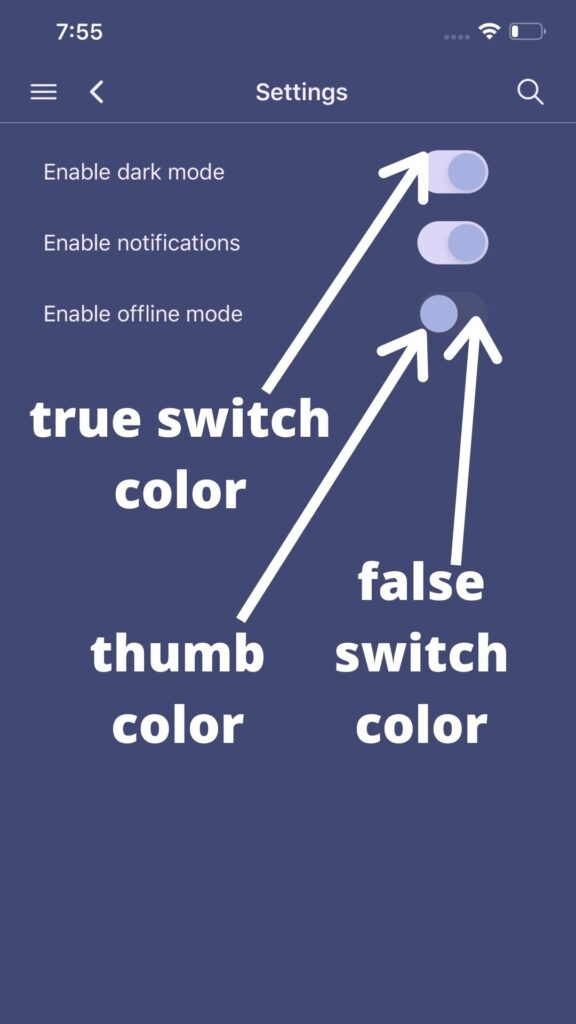
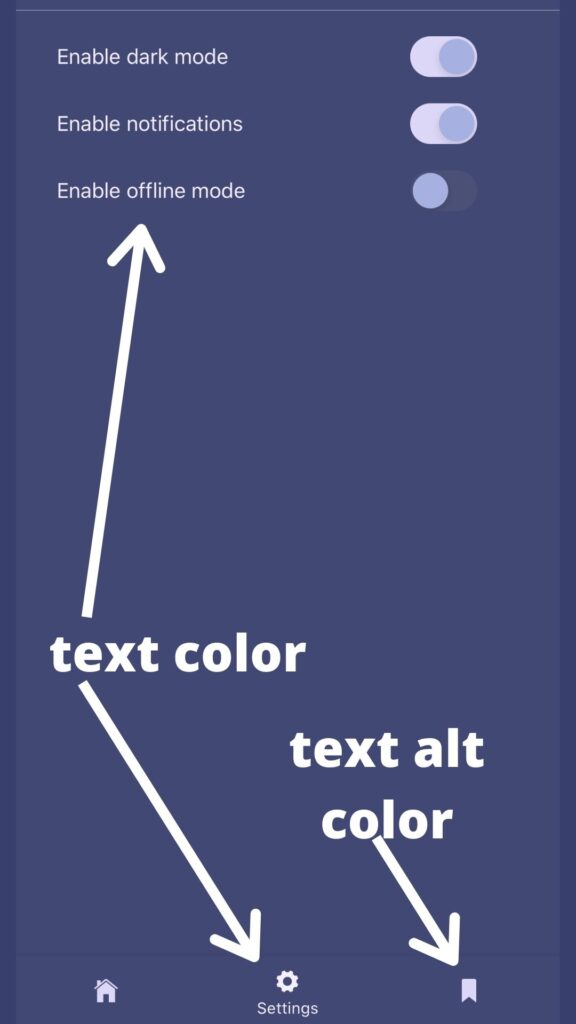
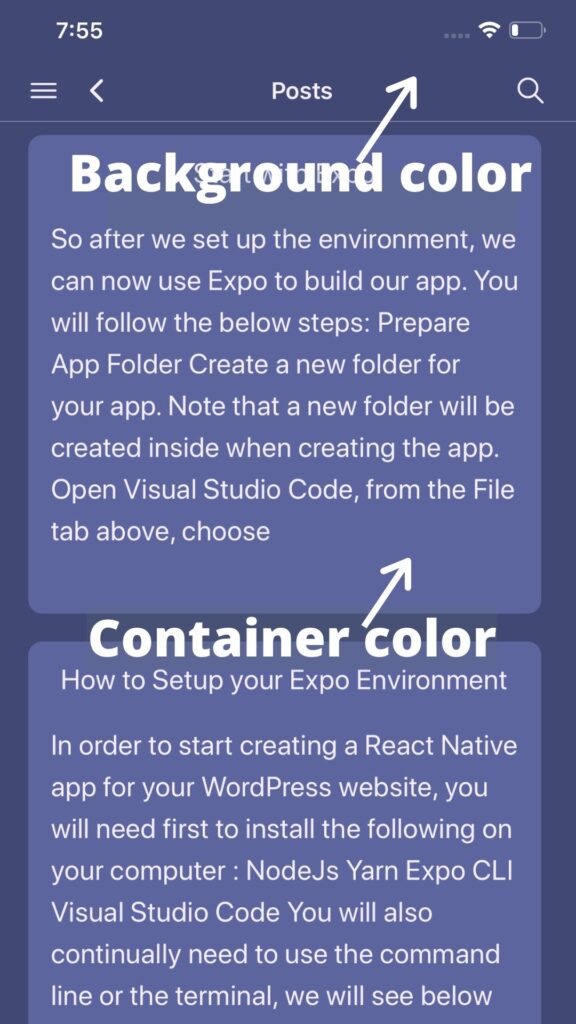
Configuring Colors
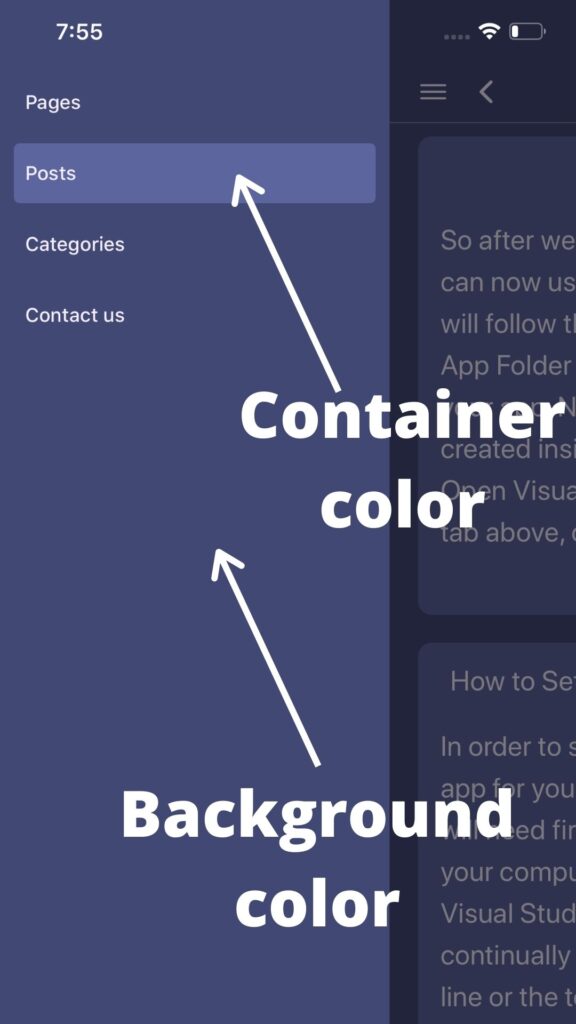
So you want to change the colors in the app to your own colors? This set of options can save your preferences. The app supports two modes; light mode and dark mode. Dark mode has been supported in modern devices and Apple now requires new apps to support it. This app also considers an option so that the user can change his app mode preferences.
Through the set of options, you can control background color, thumbnail container color, text color, inactive tabs or menu items color, and switch button colors so that you can adjust the app to the theme you like. The color map can be shown in the below images.
Share this:
[…] creation of a PFD is typically based on the output of process simulation software. We have discussed plant simulation’s role in a project in the previous article. In a nutshell, process simulation involves using specialized software to model and analyze the […]