In order to start creating a React Native app for your WordPress website, you will need first to install the following on your computer :
- NodeJs
- Yarn
- Expo CLI
- Visual Studio Code
You will also continually need to use the command line or the terminal, we will see below how to access it.
Installing NodeJs
To install NodeJs, you can download it from its official website. You can choose the LTS version. It’s a simple and easy setup. Then you shall restart your computer. You can check out this video in case you are stuck:
Installing Yarn
After installing NodeJs, we will need to install yarn as a package manager that will take care of all packages we need. You may be using npm as the package manager, but the RNWP template is using yarn, so it would be needed to use yarn to install our Expo project afterward. If Expo is already installed using npm, no need to reinstall it, but yarn will still be needed to run the project with yarn install.
Installing yarn is easy, this can be checked out in this link but it may need to be accessed from the terminal.
For Windows, this may be checked out by searching for “cmd” or by choosing the Nodejs command prompt from the start menu. For macOS or Linux, just search for “terminal”. After you access the terminal, you can simply type the command in the install link above.
These videos can also help:
Expo
Expo is the main tool we shall use to create our app. It’s a workflow for React Native that helps developers create an app easily without getting stuck with too many setups. Expo also gives the option to test the app on mobile phones without the need for heavy programs like Android Studio or Xcode.
Also with Expo, you will be able to test and build the ios app file on a Windows or Linux computer which is not provided by most tools that create a mobile app. However, a final step to upload the app to the App store will need a Mac, but still, there are some solutions to upload the app to the store without buying a new Macbook.
How to install Expo?
Expo can be simply installed using yarn through the below command in the terminal:
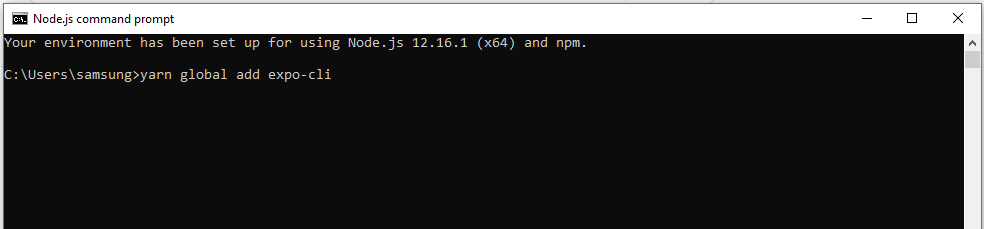
If you are on Mac or Linux, you will need to add sudo before the command in order to give permission to install the package on your computer as follows:
sudo yarn global add expo-cliYou will be then asked to enter the password of your computer and here we go.
Visual Studio Code
Visual Studio Code is the most famous code editor. Although we will not need to really code to create the app, we will need to copy some code as will be shown in the next steps. Windows doesn’t open javascript files by default, VSCode makes copying code much easier. We can also access the terminal from it, this will make things much easier.
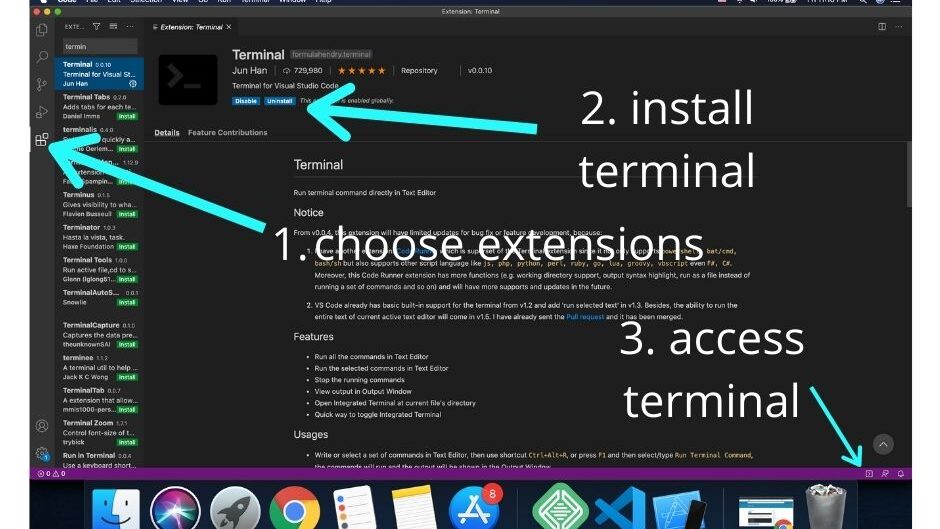
Visual Studio Code is downloaded from this link. Its installation is very straightforward. You will just need to install terminal from the extensions tab as shown:
So that’s for the environment setup, now we installed the required programs, we can roll our sleeves and start.
Share this:
[…] creation of a PFD is typically based on the output of process simulation software. We have discussed plant simulation’s role in a project in the previous article. In a nutshell, process simulation involves using specialized software to model and analyze the […]