So after we set up the environment, we can now use Expo to build our app. You will follow the below steps:
Prepare App Folder
- Create a new folder for your app. Note that a new folder will be created inside when creating the app.
- Open Visual Studio Code, from the File tab above, choose Add Folder To Workspace.
- Choose the file you assigned in step 1, this will locate folders and terminals in VSCode to this folder.
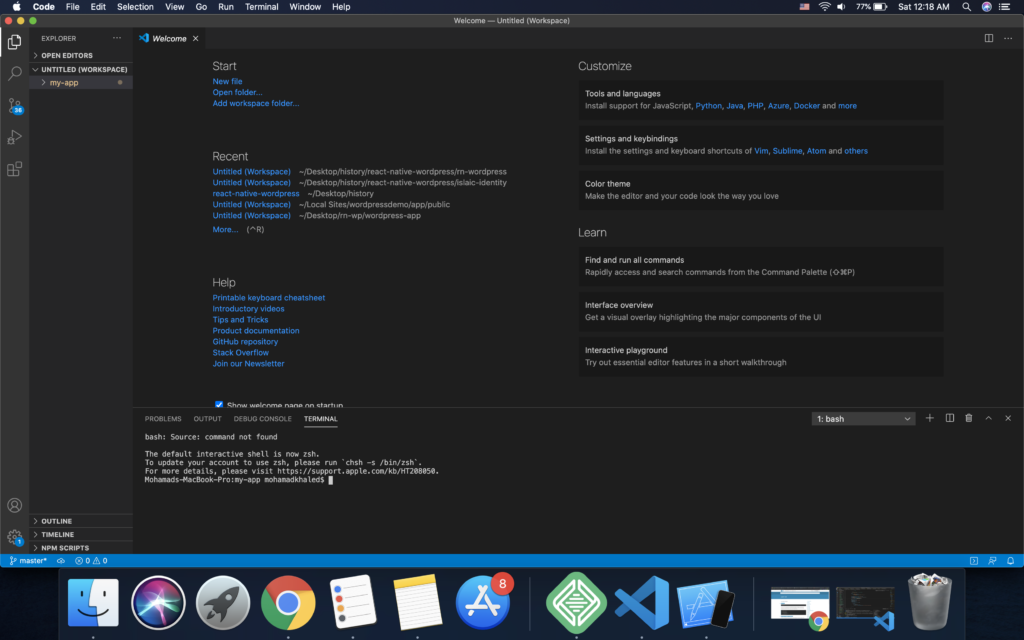
- Open the terminal from the small
>icon on the bottom right of VSCode. Terminal shall be shown as follows:
Create the app
To create the app, there are two solutions:
- Copy the content of the App folder in RNWP bundle to the folder you chose. This is the easiest way.
- Create a new Expo project then overwrite the related folders with the content of RNWP bundle App folder. This may be done in case an error occurred while running
yarn installthe first solution.
Solution 1: Copy content of App folder
This shall be composed of 2 steps:
- Copy files
- Run the command
yarn installin the terminal.
You should check the terminal afterwards. If it ends with Done then everything is ok. If there is an error (in red not warning in yellow), then you can try the other way.
Solution 2: Build an app then replace it with content of App folder
To create an expo app, you can write the following code in the terminal:
expo init my-first-appInstead of “my-first-app”, you can write the name you like. This will be the name of your project’s folder.
The app will then start creating the necessary folders, you can check the folders in the left bar and you will find the “my-first-project” folder, you will find inside plenty of folders.
Now you can copy and replace the content of the App folder in RNWP except for babel_config.js with the content on the folder we generated in step 2. You should also delete node_modules folder.
Now you can run yarn install (as in solution 1).
Starting the app
Now the app is ready for test, you can simply run the following command:
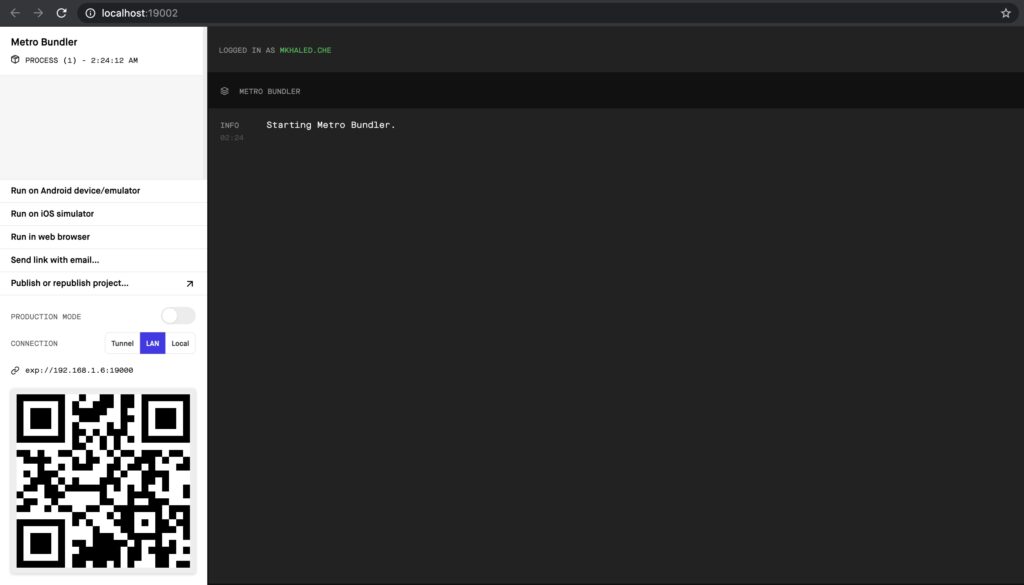
expo startOnce you click enter, you will find a new browser tab opened:
Testing Expo app
To test an expo app, you have two options:
- You can either use an emulator as Android Studio or Genymotion for Android or an ios simulator through XCode (available only on Mac).
- The other option is to test it on your device. This can be done by downloading the Expo Client app from ios App Store or Android Play Store.
After downloading the app, you can scan the QR code that will be shown in your browser on the bottom left (as the image above). This can be done by the camera option in Expo app in android or by the main camera app in ios.
For more info on testing the app, you can check Expo documentation.
Fixing an error on Windows
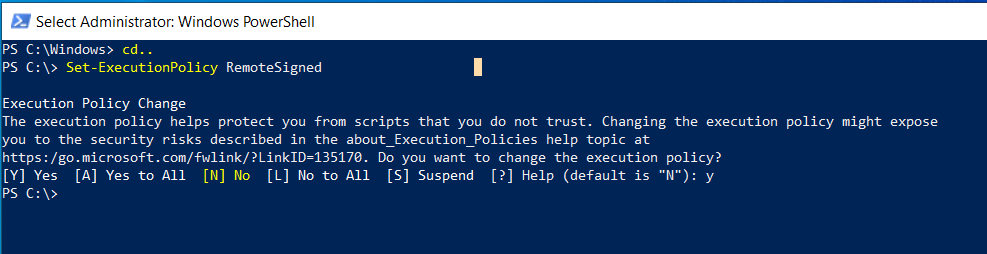
If you are a Windows user, you may encounter this error saying that scripts cannot be loaded because of the execution policy as below:

In this case, you can open the administrator PowerShell (you can get it from the search bar below) and in the C: drive, you can write the command Set-ExecutionPolicy RemoteSigned. You will be prompted to change the execution policy, just type y and enter as shown in the below image:
Start Configuring your First App
Now the app should load and you can see it on the simulator or on your mobile. It’s time to configure it for your site. So let’s go to the next step.
Share this:
[…] creation of a PFD is typically based on the output of process simulation software. We have discussed plant simulation’s role in a project in the previous article. In a nutshell, process simulation involves using specialized software to model and analyze the […]